
Few weeks ago, I had couple days of “home confinement” due to bad weather (living in Thailand does have some downsides…).
So I started browsing the net in search of some inspiration and came across several hints on how to set up and shoot droplets at home.
Some people have "serious" and expensive equipment ranging from cable release to multiple radio triggered speedlites, external dish lights, professional studio backgrounds... crazy $$$tuff!!!
As I had mostly none of the above mentioned gear, I nibbled info and hints from several tutorials and came up with my own EASIEST and CHEAPEST set up possible.
The Parts
- Camera with speedlite mounted on, everything on a tripod (Canon 440D, 100mm macro lens and Nissin Di 466 speedlite)
- Clothesrail (other people used a broomstick between 2 pieces of furniture)
- Plastic bag with a pinhole at the bottom (this will make the drops happen)
- Table (the rail will be placede diagonally across the table so the center of the rail will be above the center of the glass and it wont be in camera's way
- A glass full of water in (optional) a glass bowl/container that will collect all the splashes out of the glass
- A pen, pencil, spoon to be put across and on top of the glass to check the alignment and the focus on where the drop will fall
- Clothes or cardboard as background
Set Up

Possible Variation and Improvements
I haven't tried to use my speedlite in slave mode and away from the camera, by doing so you can have the light coming from different angles and get different results, maybe next time... ;-)
Tips
In order to get the timing right, you'll need to do several attempts. Once you get the rhythm, you'll be sanpping like crazy (and you'll end up with hundreds of stunning pictures to choose from and post edit...)
CROWN: if you want to capture a crown effect (see sample image 3) it is best to use milk, as it is denser and to make it drop on the bottom (now top) of the inverted glass.
Sample Images
here some of my picks...
water pebbles...


water pebbles...

red cloth underneath the glass and blue cloth hanging on the chair behind...
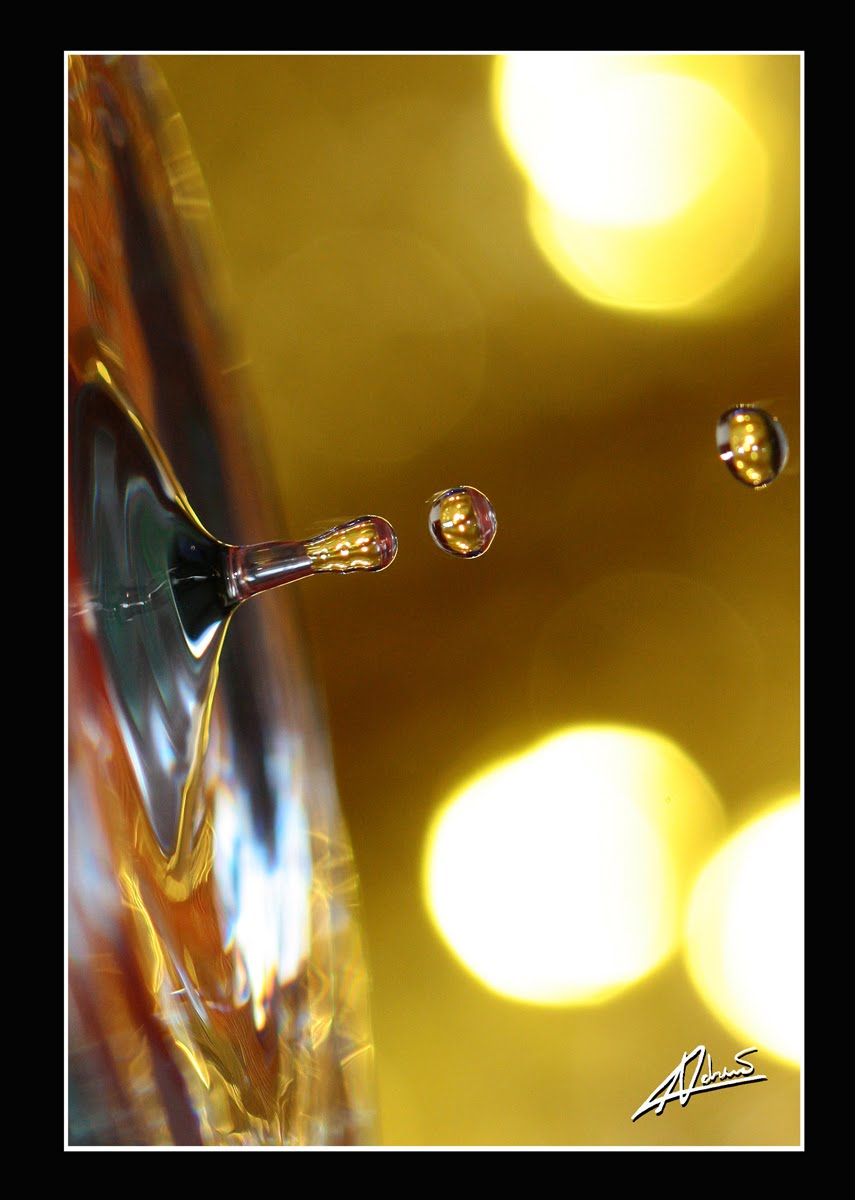
one with bokeh effect (gold sequin in the back) and the same red cloth underneath

lastly, the crown of milk as the drop is splashing on the bottom (now top) of the glass, black background gives the "artistic" final effect...


4 comments:
been editing and re-editing this freaking post so many times!!! what the phuk is wrong with you??? it seems that blogger doesn't like bullets and center alignment for text and pictures... I give up!!!
finally! this is as good as it gets! no more editing!!! no more adjustments! I had to rewrite everything!!! cannot copy paste from word, it will make it go bonkers!!! ...CRAP!!!
Stunning pix and the tutorial is simple and easy to follow and the layout looks fine. I didnt see it before though!
Very very beautiful Adri :) I will definitely be trying this on the weekend. Gorgeous shots and easy-to-follow tutorial. You are truly talented.
Post a Comment