Showing posts with label tips and tricks. Show all posts

buoyancy clinic and under water photo orientation

Can a diving pool look like the Indian Ocean?
Well, judge for yourself...

under water photo orientation - diver silhouette

photo orientation wide angle close focus on artificial reef

Another service brought to the divers from your one and only UnderWater Paparazzi: buoyancy clinic and under water photo orientation

Kompas Thailand, the Under Water Photography SPECIALISTS in Southern Thailand, has an artificial reef specifically designed to train divers into underwater photography.

For more info, check their website:

KOMPAS underwater-photography-academy

Tune up your photography skills, improve your buoyancy, learn how to get the most out of your camera!

This workshop takes half a day in the pool and saves you precious bottom time during your holiday dives. Practice makes perfect, dive with confidence and take stunning pictures rather than figuring out the setting of your camera!

Here's an example of a diver with his newly purchased Canon s95

under water photo orientation student practice

and after few hints from his guide (myself obviously), this is one of his best results from this angle. NOT BAD AT ALL!!!

under water photo orientation macro shot 

His girlfriend took the opportunity to practice too

under water photo orientation student practice 2

check her out! forget about the wall in the background, assume it's rock...!!!

under water photo orientation macro shot 2

Anyway, as I was saying at the beginning, this workshop is also about fine tuning your buoyancy for much harder shots. Quite challenging but do rewarding!

buoyancy clinic and under water photo orientation 1

and his (inverted) result

buoyancy clinic and under water photo orientation result 1

this is what anyone who wants to improve their diving skills needs!

buoyancy clinic and under water photo orientation 2

Loads of fun plus lots of photography techniques explained and achieved in no time!

buoyancy clinic and under water photo orientation shot 2
So, prior to your liveaboard, your daytrip, to refresh and improve your skills, to practice your new camera purchase or upgrade, dive into Kompas pool and and get ready for your holyday adventure!

buoyancy clinic and under water photo orientation Kompas Pool

drop me a line at my address

paparazzi@kompasthailand.com

or visit Kompas Web Site for more info or to book your "buoyancy clinic and under water photo orientation".

Kompas underwater photograpy academy

See you soon in the pool!
Read more

DROPLETS

DIY droplets photography and makeshift indoor studio

Few weeks ago, I had couple days of “home confinement” due to bad weather (living in Thailand does have some downsides…).
So I started browsing the net in search of some inspiration and came across several hints on how to set up and shoot droplets at home.

Some people have "serious" and expensive equipment ranging from cable release to multiple radio triggered speedlites, external dish lights, professional studio backgrounds... crazy $$$tuff!!!

As I had mostly none of the above mentioned gear, I nibbled info and hints from several tutorials and came up with my own EASIEST and CHEAPEST set up possible.


The Parts 
  • Camera with speedlite mounted on, everything on a tripod (Canon 440D, 100mm macro lens and Nissin Di 466 speedlite)
  • Clothesrail (other people used a broomstick between 2 pieces of furniture)
  • Plastic bag with a pinhole at the bottom (this will make the drops happen)
  • Table (the rail will be placede diagonally across the table so the center of the rail will be above the center of the glass and it wont be in camera's way
  • A glass full of water in (optional) a glass bowl/container that will collect all the splashes out of the glass
  • A pen, pencil, spoon to be put across and on top of the glass to check the alignment and the focus on where the drop will fall
  • Clothes or cardboard as background


Set Up 


Possible Variation and Improvements


I haven't tried to use my speedlite in slave mode and away from the camera, by doing so you can have the light coming from different angles and get different results, maybe next time... ;-)


Tips

In order to get the timing right, you'll need to do several attempts. Once you get the rhythm, you'll be sanpping like crazy (and you'll end up with hundreds of stunning pictures to choose from and post edit...)


CROWN: if you want to capture a crown effect (see sample image 3) it is best to use milk, as it is denser and to make it drop on the bottom (now top) of the inverted glass.


Sample Images
here some of my picks...


water pebbles...


red cloth underneath the glass and blue cloth hanging on the chair behind...


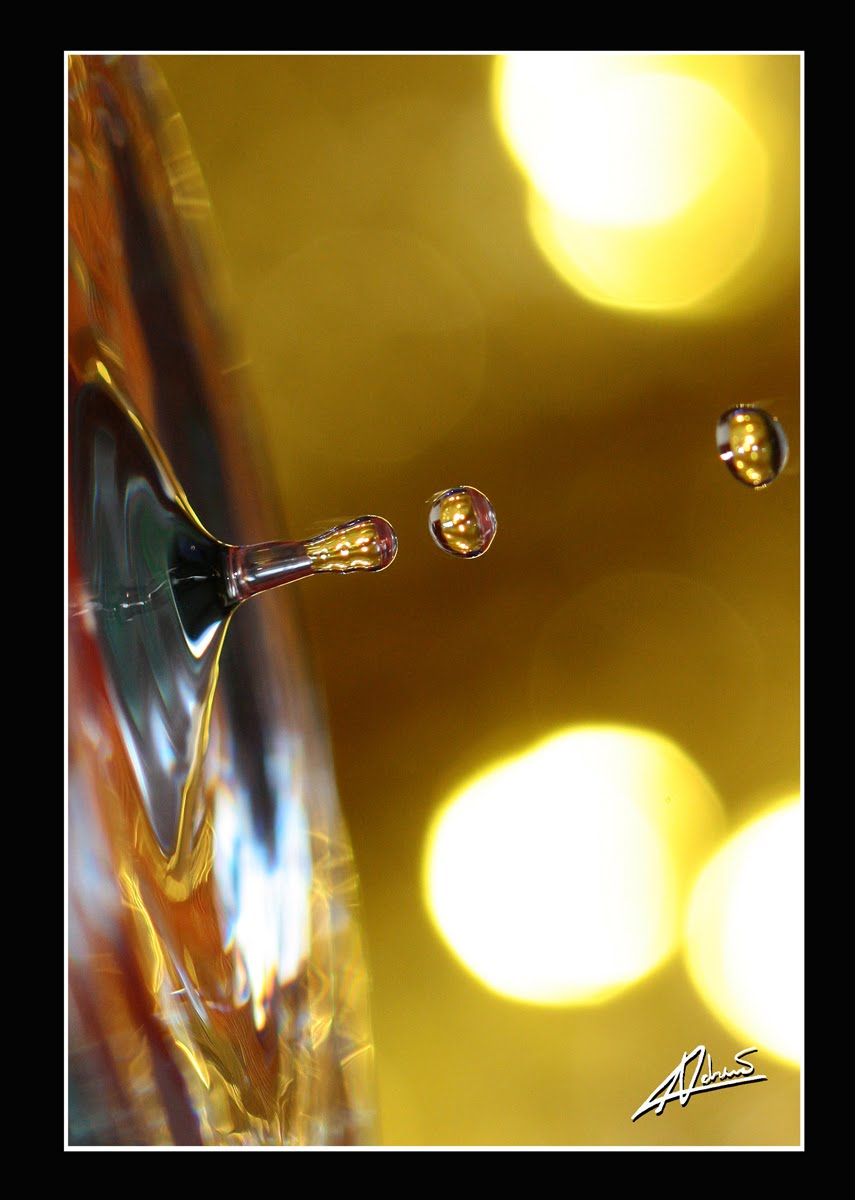
one with bokeh effect (gold sequin in the back) and the same red cloth underneath


lastly, the crown of milk as the drop is splashing on the bottom (now top) of the glass, black background gives the "artistic" final effect...


some more...


Read more
 

Adriano's photo & pixel addiction Design by Insight © 2009